Why Indexing Matters
You have built a website, published your content, and everything looks great in the browser. But here is a question that trips up more site owners than you might expect: can Google actually find your pages? If your pages are not in Google's index, they will never appear in search results. Not on page one, not on page ten, not anywhere. They are effectively invisible to anyone searching the web.
Indexing is the process by which Google discovers, crawls, and stores your pages in its massive database. When someone types a query into Google, the search engine does not scan the entire internet in real time. It searches its index, a pre-built catalog of billions of web pages that it has already visited and analyzed. If your page is not in that catalog, it simply does not exist as far as Google is concerned.
Many site owners assume that publishing a page automatically makes it appear in Google. That is not how it works. Google needs to discover the URL, crawl the page, determine that the content is worth storing, and then add it to the index. Each of these steps can fail silently. Your page might have a noindex tag you forgot about. Your site might lack internal links to the new page. Google's crawler might not have visited your site recently. Without actively managing the indexing process, you are leaving your search visibility to chance.
The good news is that Google gives you tools to take control. A properly configured sitemap.xml file and Google Search Console together let you tell Google exactly which pages exist, submit them for indexing, and verify that they have been indexed successfully. This guide walks you through every step.
Creating a Sitemap.xml
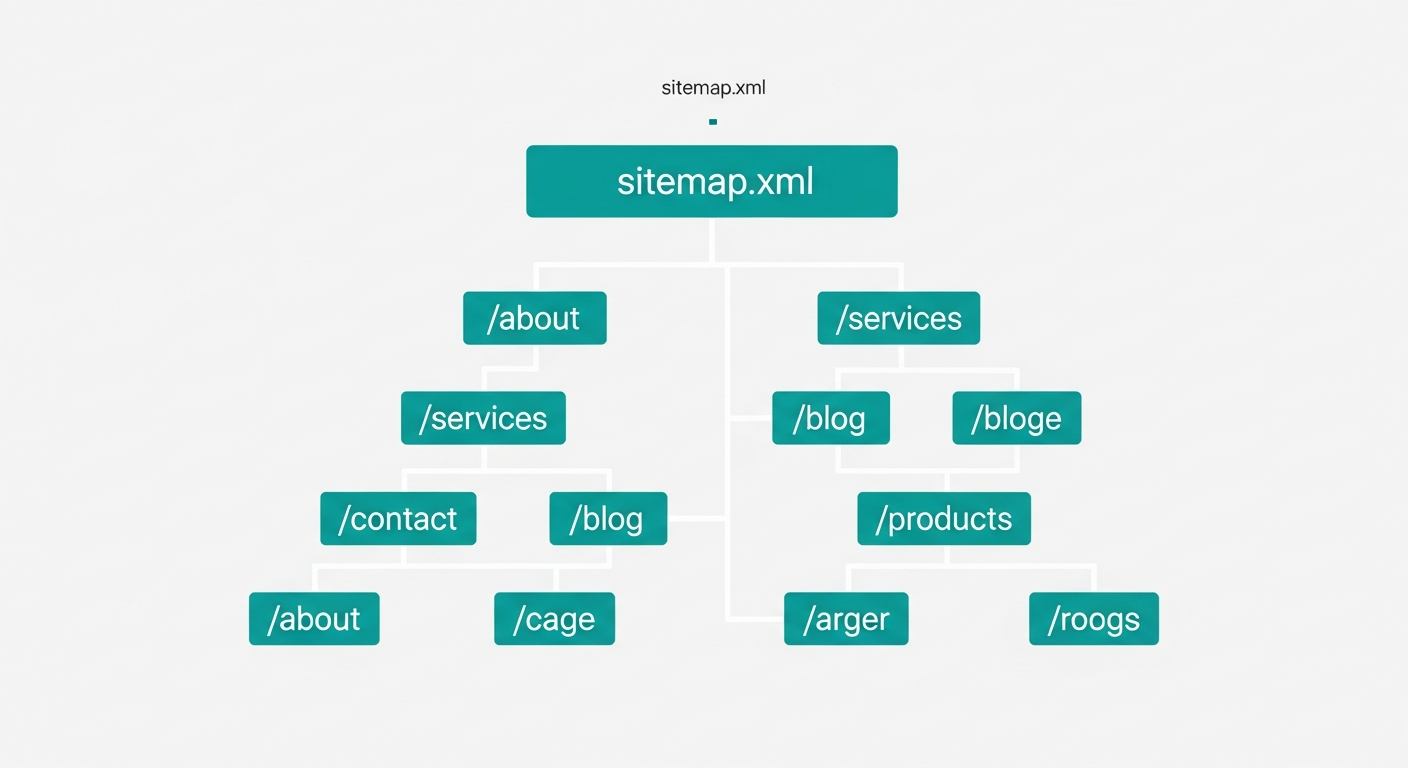
A sitemap is an XML file that lives on your web server and lists all of the URLs on your site that you want search engines to know about. Think of it as a table of contents for your website. While search engines can discover pages by following links, a sitemap gives them a direct, structured list so they do not have to guess or miss anything.
A basic sitemap follows a simple XML structure. At the top level, you have a <urlset> element that wraps individual <url> entries. Each entry contains a <loc> tag with the full URL of the page, and optionally a <lastmod> tag indicating when the page was last updated, a <changefreq> tag suggesting how often the page changes, and a <priority> tag hinting at the page's relative importance within your site.
You do not need to build your sitemap by hand. Most modern frameworks and content management systems can generate one automatically. Next.js has built-in sitemap generation. WordPress has plugins like Yoast SEO and Rank Math that create and update sitemaps whenever you publish or modify content. If you are using a static site generator, tools like sitemap-generator-cli or online sitemap generators can crawl your site and produce the file for you.
A few best practices to keep in mind. Only include canonical URLs in your sitemap. If a page has a canonical tag pointing to a different URL, include the canonical version, not the duplicate. Keep your sitemap under 50,000 URLs and 50MB uncompressed. If your site is larger than that, split it into multiple sitemaps and reference them from a sitemap index file. Update your sitemap whenever you add, remove, or significantly change content. A stale sitemap is better than no sitemap, but a current one is best.
Once your sitemap is ready, place it at the root of your domain, typically at https://yourdomain.com/sitemap.xml. You should also reference it in your robots.txt file by adding a line like Sitemap: https://yourdomain.com/sitemap.xml. This helps search engines find it automatically even before you submit it manually.
Submitting Your Sitemap to Google Search Console
Google Search Console is a free tool that gives you direct communication with Google about your website. If you have not set it up yet, go to search.google.com/search-console and verify ownership of your domain. You can verify using a DNS record, an HTML file upload, an HTML meta tag, or through your Google Analytics or Tag Manager account.
Once you are verified, submitting your sitemap takes just a few steps. In the left-hand navigation, click on Sitemaps under the Indexing section. You will see a text field labeled “Add a new sitemap.” Enter the path to your sitemap, which is usually just sitemap.xml if it is at the root of your domain. Click Submit.
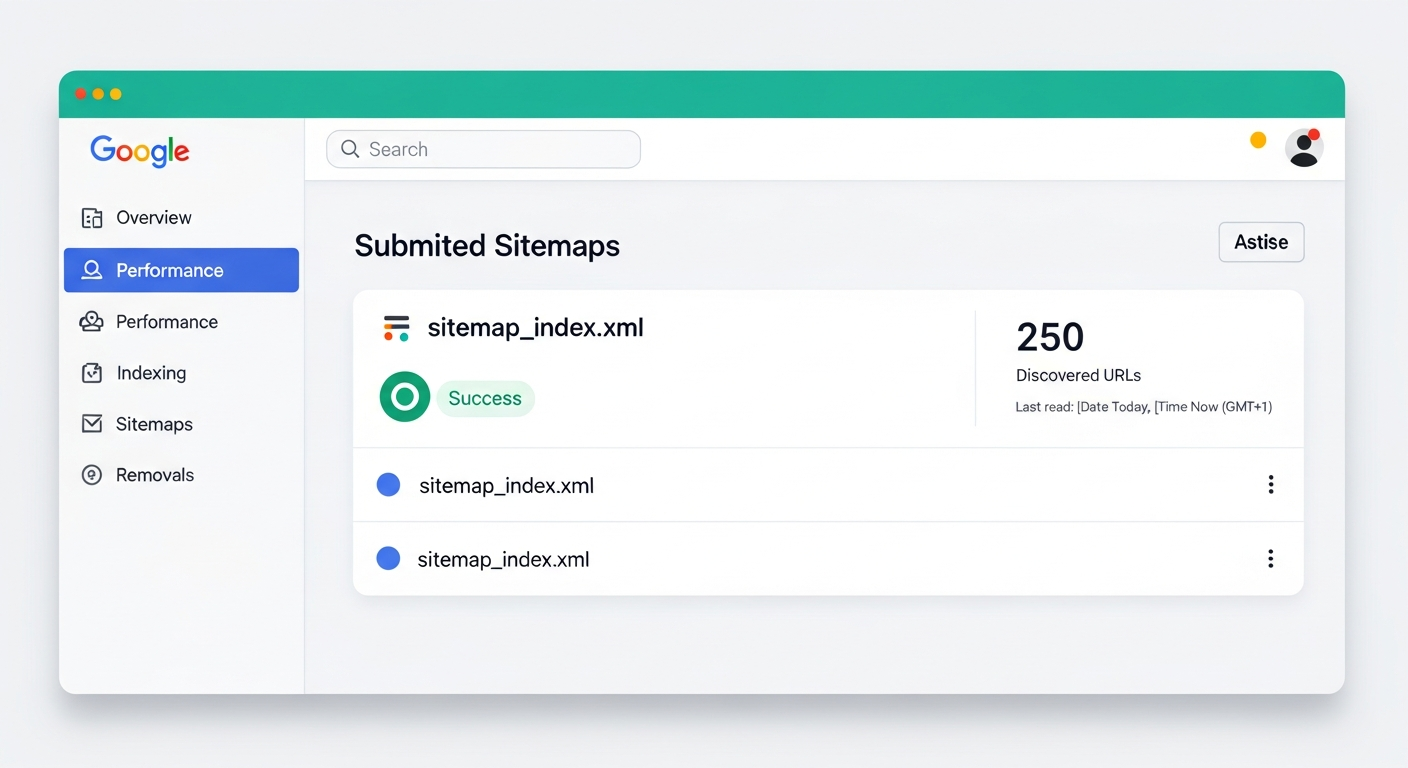
After submission, Google will process your sitemap and report back on what it found. You will see the number of discovered URLs, the submission date, and a status indicator. A status of “Success” means Google was able to read your sitemap and has added the URLs to its crawl queue. This does not mean every page is immediately indexed. It means Google knows about those URLs and will crawl them according to its own schedule and priorities. For most sites, you will start seeing pages appear in the index within a few days, though it can sometimes take longer for newer domains.
Manually Requesting Indexing
Sometimes you need Google to index a specific page right now. Maybe you just published a blog post and want it showing up in search results as quickly as possible. Maybe you made a critical update to a product page and need Google to re-crawl it. This is where the URL Inspection tool comes in.
In Google Search Console, you will find a search bar at the very top of the page labeled “Inspect any URL.” Paste the full URL of the page you want indexed and press Enter. Google will check whether the URL is currently in its index and show you the result. If the page is not indexed, or if you want Google to re-crawl an updated version, click the Request Indexing button.
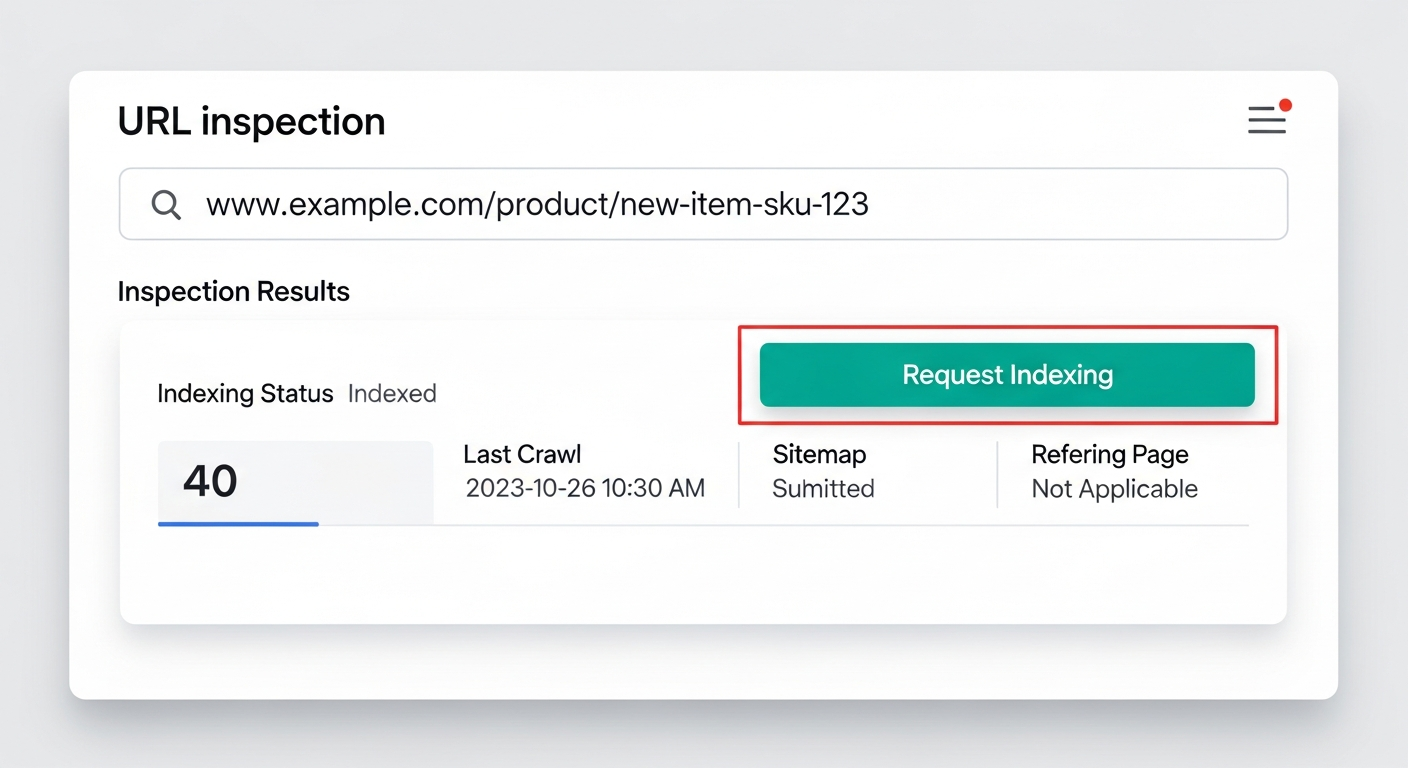
When you request indexing, the URL is added to a priority crawl queue. Google typically processes these requests within hours, though it can take up to a few days depending on current demand. There is a daily limit on how many URLs you can submit this way (Google does not publish the exact number, but it is generally enough for normal use). Keep in mind that requesting indexing does not guarantee that Google will index the page. If the page has technical issues, thin content, or a noindex directive, Google may still choose not to include it.
This tool is especially useful for time-sensitive content. If you are publishing a blog post tied to a current event, a product launch announcement, or a limited-time offer, manually requesting indexing can shave days off the time it takes for the page to appear in search results.
Verifying Your Pages Are Indexed
After submitting your sitemap and requesting indexing, you need to confirm that your pages are actually showing up in Google. There are two straightforward ways to check.
The first method is the site: search operator. Open Google and type site:yourdomain.com into the search bar. Google will show you every page from your domain that is currently in its index. You can narrow this down by adding search terms, for example site:yourdomain.com blog to see only indexed blog pages. This gives you a quick, at-a-glance picture of what Google knows about your site. If a page you recently published does not appear here, it has not been indexed yet.
The second and more detailed method is the Index Coverage report in Google Search Console. Navigate to Pages (formerly called Coverage) in the left-hand menu. This report breaks down every URL Google has evaluated into categories: indexed, not indexed, and the specific reasons why certain pages were excluded.
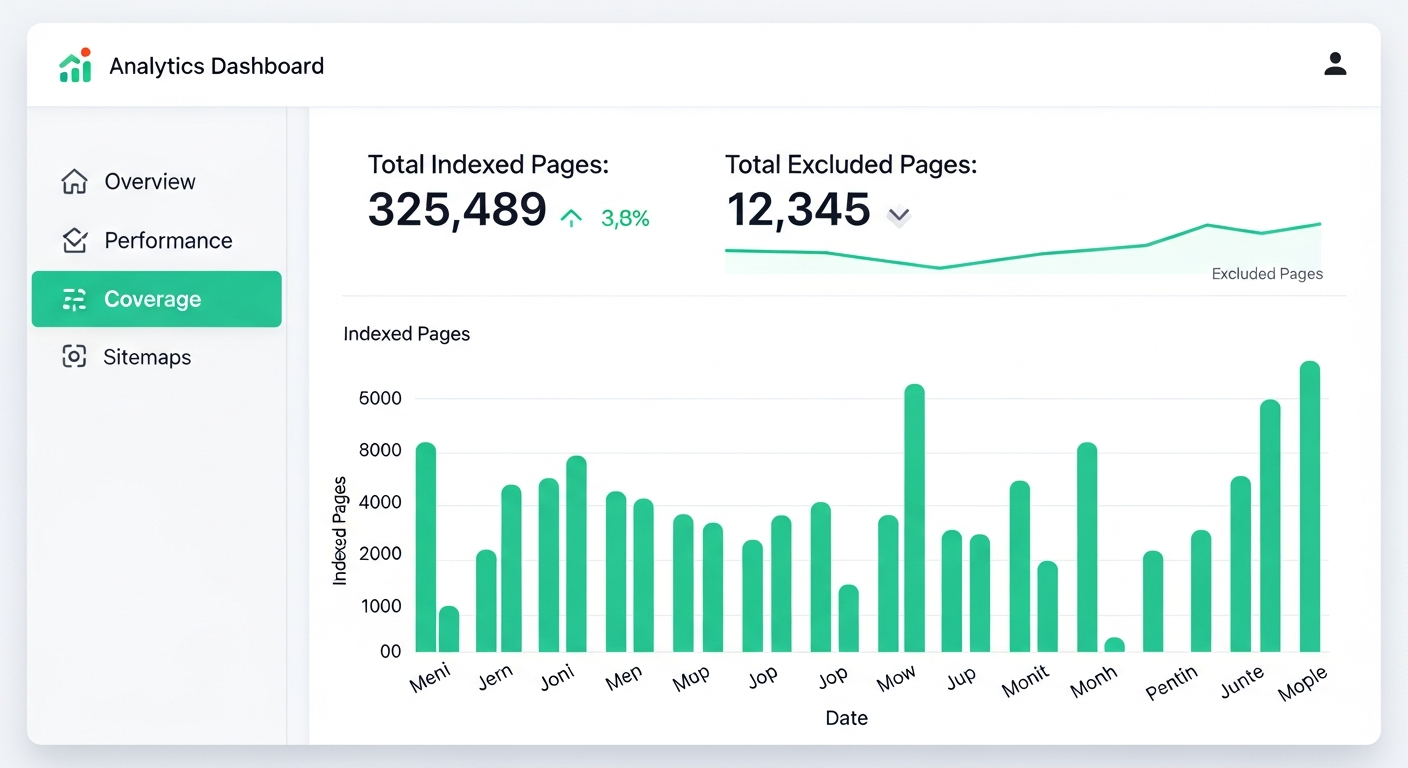
Pay close attention to pages that are listed as “Excluded.” Common reasons include pages marked with a noindex tag, pages that redirect to other URLs, duplicate pages where Google chose a different canonical, and pages that returned server errors when Google tried to crawl them. Each of these has a different fix. A noindex tag needs to be removed if you want the page indexed. Redirect chains need to be cleaned up. Duplicate content issues require proper canonical tags. Server errors need to be resolved at the hosting or application level.
Check this report regularly, especially after publishing new content or making structural changes to your site. It is the most reliable way to understand how Google sees your site and to catch indexing issues before they become traffic problems. A healthy site should show a steady growth in indexed pages over time, with the “Not indexed” category staying stable or shrinking as you resolve issues.
Real-World Example: Indexing a Blog at Scale
To make this concrete, here is what the process looks like when you are indexing a real site from scratch. I recently walked through these exact steps for Pooled.money, a group payments platform with a blog containing 17+ articles.
Step 1: Set Up Google Search Console
This is the most important step. Go to Google Search Console and add your property. For a site deployed on Vercel, the verification flow looks like this:
- Add your domain (e.g.
https://www.pooled.money) as a URL-prefix property - Copy the verification meta tag Google gives you
- Add it to your Vercel environment variables as something like
NEXT_PUBLIC_GOOGLE_SITE_VERIFICATION - Reference that variable in your site's
<head>tag - Redeploy and verify in Search Console
Step 2: Submit Your Sitemap
Once verified, go to Sitemaps in the left menu and submit your sitemap URL (e.g. https://www.pooled.money/sitemap.xml). If you are using Next.js, the framework can generate this for you automatically. After submission, Search Console will confirm the number of discovered URLs.
Step 3: Request Indexing for Each Page
This is where most people stop, but it is the step that makes the biggest difference for new sites. In Search Console, use the URL Inspection tool to paste each page URL and click Request Indexing. Google limits you to roughly 10 to 12 requests per day, so for a site with many pages you will need to spread this out over a few days.
For example, here is what the full URL list looked like for Pooled.money — the blog listing page plus every individual post:
https://www.pooled.money/blog
https://www.pooled.money/blog/how-to-plan-bachelorette-party-without-money-drama
https://www.pooled.money/blog/splitting-costs-group-vacation-complete-guide
https://www.pooled.money/blog/organizing-destination-wedding-guest-costs
https://www.pooled.money/blog/ultimate-guide-planning-group-ski-trip
https://www.pooled.money/blog/how-to-collect-money-group-gift
https://www.pooled.money/blog/bachelor-party-budget-planning-guide
https://www.pooled.money/blog/how-to-split-beach-house-rental-with-friends
https://www.pooled.money/blog/stress-free-group-birthday-celebration-planning
https://www.pooled.money/blog/fundraising-youth-sports-team-trip
https://www.pooled.money/blog/managing-shared-expenses-with-roommates
https://www.pooled.money/blog/planning-family-reunion-without-money-fights
https://www.pooled.money/blog/crowdfunding-community-event-step-by-step
https://www.pooled.money/blog/group-camping-trip-budget-guide
https://www.pooled.money/blog/planning-friendsgiving-dinner-tips
https://www.pooled.money/blog/fantasy-football-league-money-management
https://www.pooled.money/blog/graduation-party-planning-without-financial-stress
https://www.pooled.money/blog/splitting-costs-concert-festival-trip
With 18 URLs total, this took two days of submissions. On day one, I submitted the first 10 to 12 URLs. On day two, the rest. Within 48 hours of each submission batch, pages started appearing in Google search results.
Step 4: Enrich Your Structured Data (Optional)
If your site uses structured data (like an Organization schema in your layout), add social profile links to the sameAs array as you create them — Twitter, Instagram, LinkedIn, and so on. This does not affect indexing directly, but it enriches the data Google uses for Knowledge Panels and can improve how your brand appears in search results.
Putting It All Together
Getting your pages indexed on Google is not a one-time task. It is an ongoing process that should be part of your regular site maintenance. Create and maintain a current sitemap. Submit it through Google Search Console. Use the URL Inspection tool when you need specific pages indexed quickly. And check the Index Coverage report regularly to make sure everything is working as expected.
These are foundational steps, but they make a real difference. You cannot optimize for rankings, click-through rates, or conversions if your pages are not in the index in the first place. Indexing is where SEO begins. Get this right, and everything else you do to improve your search presence will have a solid foundation to build on.